Automate (almost) your YouTube Chapter Creation in OBS
A workflow and tool to transform your content timestamps into YouTube-ready chapter markers. No uploads, no data collection — everything happens right in your browser.
Drag & Drop your timestamps log file or click to select from system
Only .txt files containing timestamps will be processed
Setup Guide & How To Use
This workflow isn't perfect and a bit of a hack, but it works for me. I hope it helps you too!
Step 1: Set Up the Timestamp Plugin
The Elgato Timestamp plugin lets you mark memorable events with a simple key press, perfect for creating YouTube chapters:
- Install the official Timestamp plugin from the Stream Deck Marketplace
- Add the "New Log" action to start tracking timestamps
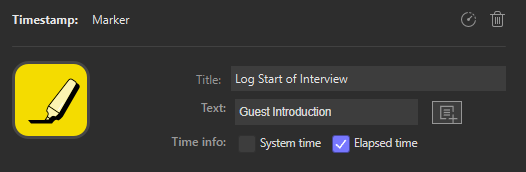
- Add the "Marker" action to mark key moments during your stream
- Make sure "Elapsed time" is checked in the Marker settings
Step 2: Create Multi-Actions for Show or Stream Segments
For streamlined workflow, create Multi-Actions that both change your scene and mark timestamps:
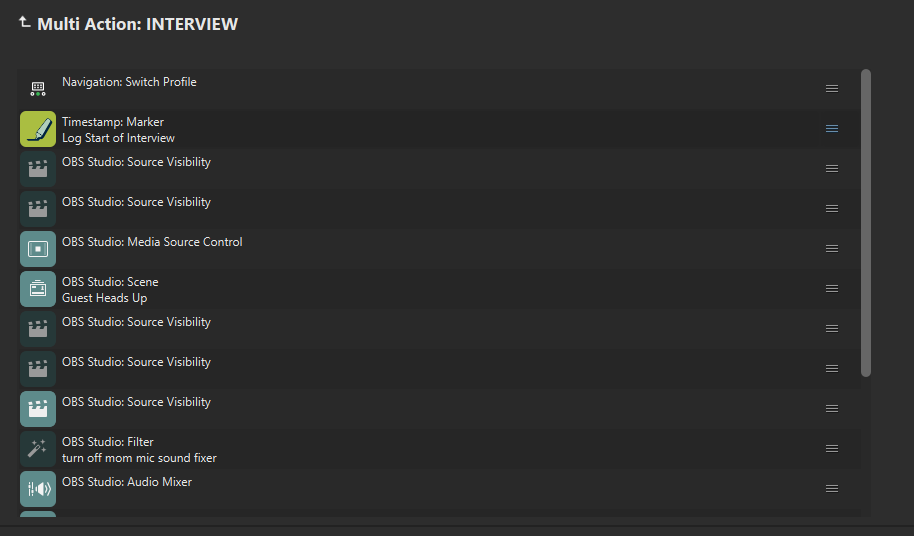
- Create a new Multi-Action button on your Stream Deck
- Add your scene switching action (e.g., "OBS Studio: Scene")
- Add the "Timestamp: Marker" action to the same Multi-Action
- Set a descriptive title for the marker (e.g., "Guest Introduction", "Q&A Session")
- Repeat for each segment of your show
This allows you to simultaneously switch scenes and mark timestamps with a single button press.
Step 3: During Your Stream
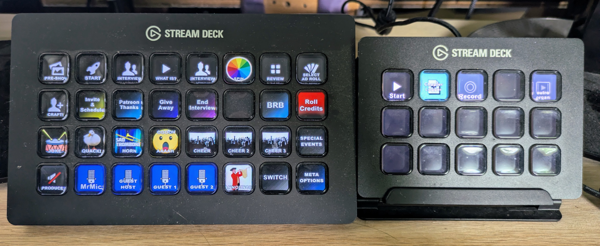
While streaming, use your Stream Deck to mark important segments:
- Don't forget to press the "New Log" button at the beginning of your stream, or your timestamps won't get logged!
- You'll also want to
- As your show progresses, press your Multi-Action buttons to switch scenes and mark timestamps
- Each press creates a timestamp with your pre-defined label
- Continue marking all important segments throughout your stream
Step 4: Check Your Timestamps
After your stream is complete:
- Press the "New Log" button again to end the logging session (important)
- Your timestamp log will be saved as a .txt file in the directory you set up
- The log file will contain lines like:
elapsed time: 00:02:39 text: Last Week's Episode
Step 5: Convert to YouTube Chapters
Use our converter to transform your timestamps to YouTube-compatible chapter markers:
- Drag and drop your timestamp file into the converter
- The first chapter will be set to 00:00 (YouTube requirement)
- If there is no timestamp in the first 10 seconds of your log, a generic "Intro" chapter will be created
- Adjust the offset if needed (see below)
- Copy the formatted chapters
- Paste into your YouTube video description
Why You Might Need the Offset Feature
The offset feature is essential for streamers because:
- Stream Start Timing: The exact moment you go live often doesn't match when you start your timestamp log
- Editing Adjustments: If you trim portions of your video before uploading to YouTube
- Added Content: If you add an intro to your video that wasn't in the original stream
- VOD vs. Stream: Differences between your live stream and the final video on demand
How to Use the Offset:
- Positive Offset: Moves all timestamps later (e.g., +5 seconds if you added a 5-second intro)
- Negative Offset: Moves all timestamps earlier (e.g., -10 seconds if you trimmed the first 10 seconds)
- Use the preset buttons for quick adjustments or enter a specific value for precise control
- The first chapter will always remain at 00:00 as required by YouTube
Benefits of Using the Timestamp Plugin with Our Converter
The Elgato Timestamp plugin paired with our converter offers streamers several advantages:
- Real-time Marking: Mark every moment during your live stream without disrupting your flow
- Time Saving: No more scrubbing through recordings or scribbling notes
- Workflow Integration: Combine scene switching and timestamp marking with Multi-Actions
- Format Conversion: Automatically convert from Elgato's format to YouTube's required format
- Fine-Tuning: Adjust timestamps with precise offset controls to match your final video
I created this tool to help my own workflow. I understand it might not work for everyone. Please feel free to reach out with any comments or suggestions.